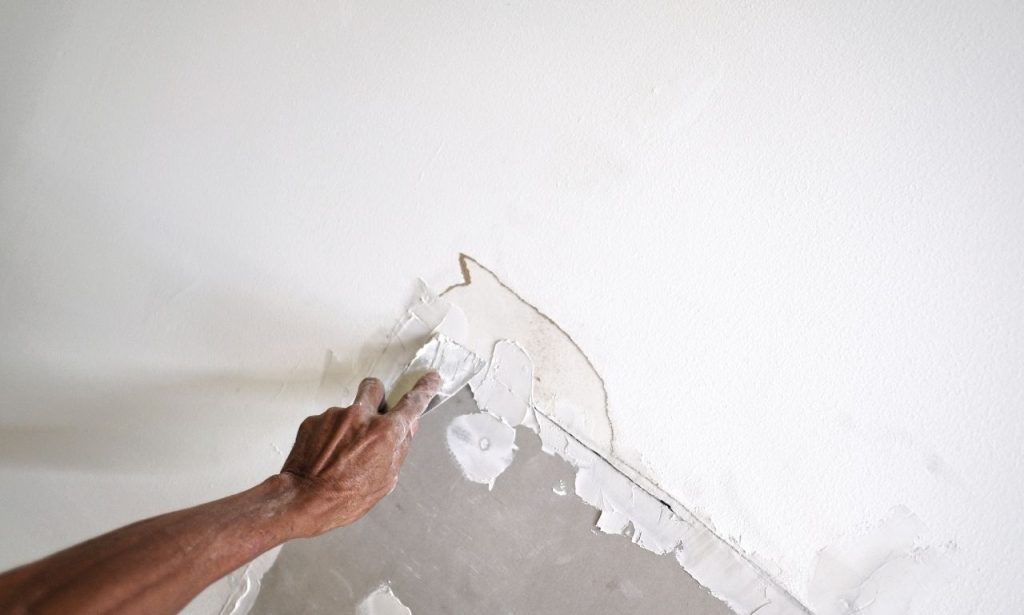
Dealing with holes in your wall isn’t fun. Maybe your doorknob punched through the drywall. Your kids got a bit too rowdy with toys. Whatever the cause, wall damage happens in every home. The good news? You don’t need to call a professional for most drywall repairs. You can fix these eyesores with some essential tools and some know-how. This guide breaks down different types of drywall damage and how to fix each. I’ve been patching walls for years and sharing my best tricks. From tiny nail holes to bigger catastrophes, these methods work. Let’s explore how to patch a drywall hole without breaking the bank.
How to Fix Drywall Damage
First things first—what kind of wall damage are we talking about? A pinhole needs different treatment than a massive crater. No worries, though. I’ve organized this guide from super simple to more challenging fixes. You’ll need some basic stuff regardless of the damage size. Grab a joint compound (the pre-mixed kind saves headaches), a putty knife, and sandpaper. Add a utility knife and replacement drywall to your shopping list for bigger jobs.
Oh, and please wear a dust mask when sanding! Your lungs will thank you. My neighbor, Jake, ignored this advice and couldn’t stop coughing for two days. Most wall repair supplies are surprisingly cheap. I spent under $30 for everything needed to fix my son’s truck incident. The real secret to perfect wall repairs? Patience between steps. Rush the drying time, and you’ll create more work for yourself. Let’s start simple and work our way up.
Fix Small Drywall Cracks
Those hairline cracks that pop up around doorframes drive me nuts. They always show up after painting, right? My 1960s home gets them constantly as the foundation settles. But fixing them isn’t rocket science. Grab a damp rag and clean the cracked area first. You need to remove any loose bits or dust.
My buddy Steve taught me a game-changing trick here. Skip the paper tape and go straight for the self-adhesive mesh tape. Paper tape bubbles up for beginners, but mesh sticks perfectly every time. Press that tape firmly over your clean crack. The adhesive backing grabs right onto the wall. No fuss, no mess.
Now for the mud. That’s what pros call joint compound, by the way. Take your 6-inch knife and scoop a golf-ball-sized blob. Spread it over the tape with steady pressure. Don’t glob it on too thick! Think pancake batter, not cake frosting. Push firmly at the edges to “feather” them out. This blending prevents obvious humps after painting.
Let the first coat dry overnight. Yeah, I know the package might say “4 hours”, but overnight works better. Come back tomorrow and lightly sand with 220-grit paper. Just knock down the high spots. Then repeat with a thinner second coat. The trick? Make this coat wider than the first. My third coat (if needed) goes on super thin with a 12-inch knife. Sand between each layer. Your wall will look killer when painted!
Repair Drywall Nail Holes
Picture hangers and tiny nail holes are daily life with kids’ artwork. Thankfully, these mini-problems take just minutes to fix. For super small holes, I swear by lightweight spackle. That pink stuff that dries white? Magic in a tub. It costs about five bucks and lasts forever.
Press a tiny blob on your fingertip firmly into the hole. Smooth it flat with your finger or a small knife. Wipe away excess immediately. The cool thing about modern spackle? It barely shrinks as it dries. One application usually does the trick. Let it dry for about an hour or until it changes color.
Quick sand with fine sandpaper, and you’re good to go. But here’s my personal time-saving hack: baby wipes! After applying spackle, wait 15 minutes, then gently wipe over it with a barely damp baby wipe. This smooths the surface without creating dust. I learned that after my daughter was born. No sandpaper is needed for tiny fixes!
Anchor holes need slightly different treatment. These larger holes need joint compound instead of spackle. Fill, then scrape excess using your knife at a 45-degree angle. You’ll need two coats for these bigger boys. Sand between coats using circular motions rather than straight lines. Straight sanding patterns catch light differently and can still show after painting.
How to Patch Small Drywall Holes
Got holes between one and three inches across? This is where my favorite hack comes in. Forget those expensive patch kits! Head to your kitchen and grab a coffee filter. Yes, seriously. My wife thought I was nuts until she saw the results. These filters have the perfect texture to bond with the joint compound.
Cut a piece slightly larger than your hole. Remove any loose junk from the damaged area. With your knife, apply mud around the edges of the hole. Press that coffee filter piece firmly onto the wet compound. It’ll stick right to the wall. Now, cover the filter entirely with another layer of mud. The filter gives structure that plain mud lacks.
The key difference between professionals and DIYers is that professionals use multiple thin layers instead of one thick coat. Three thin coats always beat one thick layer. After your first coat dries, sand lightly and apply a second coat about an inch wider than the first. This gradual build-up creates invisible transitions.
My neighbor tried using mesh patches for small holes and hated the results. The metal center created a hard edge that showed through the paint. Coffee filters are flexible and completely disappear under the compound. Plus, they cost practically nothing! I fixed six holes with one filter that cost me 2 cents. This is the best repair hack I’ve ever discovered.
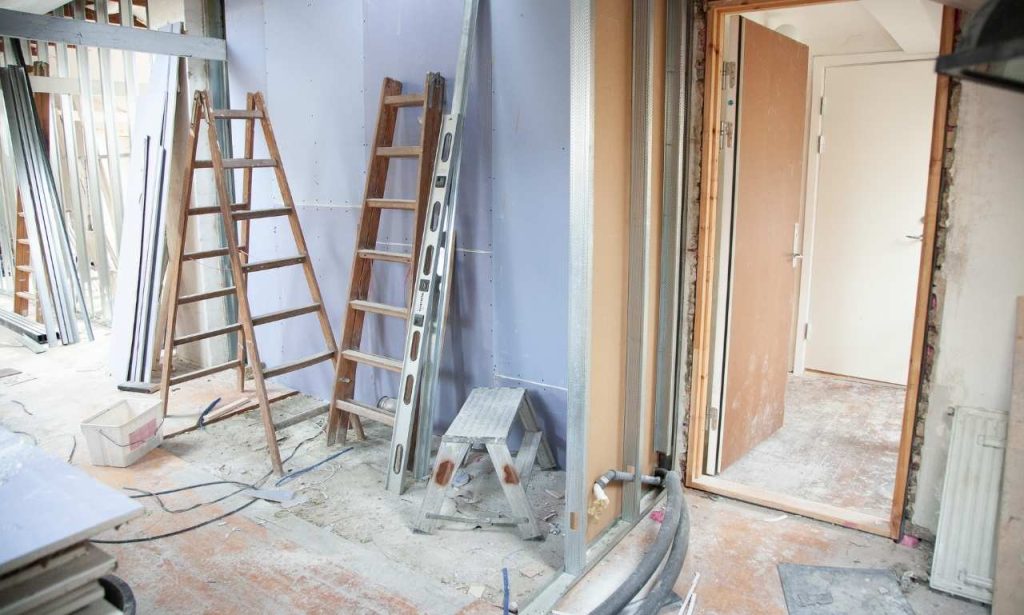
How to Fix Large Drywall Holes
Big holes require a different approach. My son’s truck incident fell into this category. You’ll need more tools, but don’t panic—the process is straightforward. Gather a utility knife, drywall saw, scrap drywall piece, joint compound, tape, and backing material. I’ll break this down into bite-sized steps anyone can handle.
Cut Out Damaged Area
First, clean up that mess! It seems backward, but you actually need to make the hole bigger. Use your utility knife to cut the damage into a clean square or rectangle. Remove all the jagged edges until you have straight lines. On my first attempt years ago, I skipped this step. Big mistake! The patch looked terrible.
Check for loose paper or crumbly gypsum around your nice, clean hole. Cut away anything that’s not solid. Your patch needs sturdy edges to bond properly. Measure your cleaned-up hole carefully. Write down these measurements—you’ll need them for your patch piece.
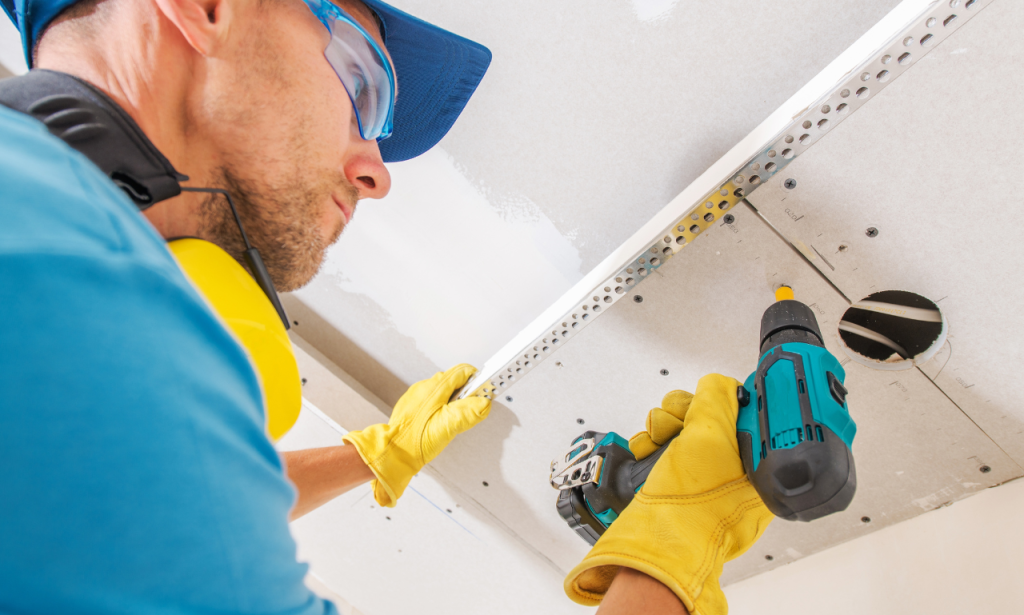
Cut and Install Support
Now, you need something behind your hole to attach the new drywall to. For medium holes, I use a paint stirring stick. Free from any paint store! Slip it through the hole and position it across the opening. Drive drywall screws through the good wall into the stick from both top and bottom. This creates perfect backing support.
For bigger disasters near studs, you need more substantial backing. Sometimes, you get lucky and find a stud right next to your hole. If not, add wooden supports between existing studs. Home Depot sells small furring strips that are perfect for this job. Secure them well before moving forward.
Measure and Cut Drywall Patch
Using those measurements from earlier, cut your replacement piece. Match the thickness of your existing wall—usually 1/2 inch for interior walls. Score one side with your utility knife, then snap along the scored line. Cut the back paper, and you’re set. Test fit your patch before installing it.
It should fit snugly but not so tight that it warps the surrounding wall. Secure it to your backing with drywall screws. Sink the screws slightly below the surface without tearing the paper facing. The screw heads should create small dimples, not rip through.
Now, cover all seams with mesh tape and mud over everything. Your first coat should extend about 4 inches beyond the patch edges. The second coat goes 8 inches out. The final coat spreads 12 inches from the patch for an invisible transition. Sand between each coat using progressively finer sandpaper. The repair will completely vanish after priming and painting.
Conclusion
Wall fixes aren’t nearly as scary as they seem! Even my teenage son patched his damage after watching me do it once. Small cracks take minutes to handle. Even those big scary holes become manageable when broken into simple steps. Just remember to allow proper drying time between coats. Rushing creates more problems than it solves.
Keep basic repair supplies in your garage or basement. You’ll need them again – that’s just home ownership reality. My emergency repair kit includes a small tub of pre-mixed mud, mesh tape, spackle, and a decent putty knife. Toss in some sandpaper, and you’re prepared for most wall disasters.
The first hole I fixed looked terrible, honestly. But practice makes perfect. By my fifth repair, friends thought I’d hired a pro. Take your time, follow these steps, and your walls look fantastic. Plus, you’ll save hundreds on contractor fees. Nothing beats the satisfaction of pointing at a perfect wall and saying, “I fixed that myself!”
Also Read: The Best Floral Wallpaper
FAQs
In my experience, it takes at least 24 hours. Humid days need longer. Don’t rush this step!
My college roommate did this, and the landlord wasn’t fooled. It shrinks, cracks, and looks awful. Just use real spackle.
Absolutely! Unprimed patches absorb paint differently, and they’ll stick out like sore thumbs in your paint job.
Spackle works for tiny holes, while joint compound handles everything else. Spackle dries faster but doesn’t build up well.
Orange peel texture? Try a texture spray can. Knockdown finish? Apply the compound, then gently flatten it with a knife.